
Appearance
Jobs
Jobs are reccuring endpoint runs that start on a timer as opposed to being called. They are much akin to Scheduled Tasks, and run a specified endpoint with given data on a schedule of your choosing.
Creating a new job
They can be defined manually, using the jobs tab, or via their cousin, the Job task. To define a job manually, click the + button at the top right corner of the page.
From here, you can name the job, select the endpoint you want to run, what data it should have, and set the schedule. You can also set Disable on failure, to turn the job off if it doesn't work. You can always turn it back on manually later.
For setting the schedule, you can either use the wizard options to set a pattern or use a cron expression. Cron expressions are in the standard Linux format.
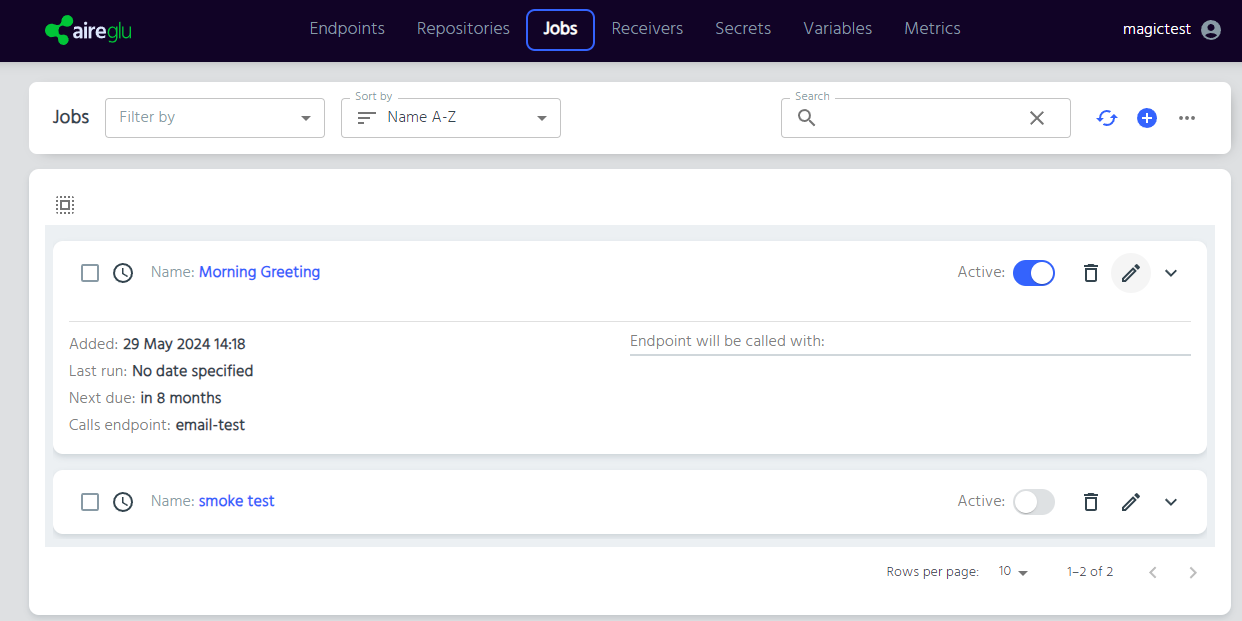
When you're done, simply click Save to save and turn on your job. You'll be taken back to the jobs list, and you'll be able to see your new job, along with its last and next run times. You can turn it on and off from here, by changing the Active switch.
By default, only active jobs are shown on the Jobs page. You can change which jobs you can see by using the Jobs filter. To see inactive as well as active jobs, untick the Active Jobs option. 
Modifying a job
Editing a job can be accomplished by expanding the job's details (click on the job to expand) and clicking on the pencil icon in the lower right. This takes you to a page much like the one used to create the job, and can be modified in the same way.